"Close Tabs to the Right" with Safari
I've recently switched my "daily driver" for web surfing to Safari on my Mac. For one, well, it's just way faster. It might be that I have few extensions on it (mostly just LastPass), but I think it's also just generally pretty zippy. I found that Firefox weighs itself down after about 8 tabs, and while I'm definitely not a tab hoarder, sometimes my tabs can get upwards of around 15 when I'm doing research.
I still use Chrome as my primary development browser, because its Dev Tools are nicer, but it too suffers from a bloated, slow feeling when surfing.
But there's definitely one thing I missed, and that's "Close tabs to the right" (think of the "research mode" mentioned above, where I google something, open 5 different answers in a new tab, and then when I'm done with them, I need to close them).
Fortunately, we can fix this with Automator.
- Open Automator on your Mac, and create a new "service."
- For actions to run, choose "Run AppleScript," and enter the following AppleScript:
(which I thieved from this blog post.) - Once you have that, save it - I named mine "close-right" (and I saved it to my iCloud, but I think you can put it anywhere).
- Now, one option is to show the script editor dropdown in your toolbar, and choose the script from there, but I've already got enough stuff there, so I'm just going to set up a keyboard shortcut for it instead. Open up "System Preferences" on your Mac, then pick "Keyboard."
- Here, you should select "App Shortcuts" and add a new shortcut for the "Safari" application. When asked about the menu item, you need to use the exact text that appears under Safari > Services for your new service (it should be the filename, like "close-right").
- Assign a keyboard shortcut (I used Command-Shift-Z).
- Now in Safari, when you press Command-Shift-Z, it closes tabs to the right of the one you're looking at!
Redfin's Front-End Shell: Bundler, Susy, Compass, Breakpoint, and more!

While we at Redfin don't really yet have a full on base theme for every project, one thing we do use is our "bundler shell." This forms the basis of any Drupal 7 or 8 theme we build, and in fact, is really just the framework for the front-end (that is, this shell is useful outside of the realm of Drupal, actually).
First things first - here's the code.
Let's go ahead and begin the dissection...
The Gemfile
The Gemfile comes from Bundler, which is an amazing dependency management tool for front-end stuff, namely Ruby Gems. Here, we mention the repository we need, and which gems to get. You can then run bundle install in order to install the requisite version of gems specified in the Gemfile.lock. (If you're at all familiar with Composer, this should sound familiar, because Bundler was a huge inspiration for Composer.) Then, we can start our normal compass commands by adding bundle exec in front of them, and it will ensure you've installed everything correctly before it starts to watch the sass folder, and compile to the css folder.
bundle exec compass watch
The 'sass' folder
Our Sass folder structure leans on a single but simple style.scss, which includes a number of things.
Up top, we include any compass imports, followed by any external vendor imports, namely Formalize and Susy. Combining Susy with Breakpoint we can rapidly build responsive layouts that just make sense.
We use Chris Eppstein's sass globbing plugin to import an entire folder of partials with one line.
@import "folder/*";
In this way, we then allow the project to grow folders out organically. Typically we end up with folders like:
- nodes
- views
- paragraphs
- misc (or "components")
- regions
Even as I write this, we're discussing how to better standardize this list.
Configuration
The last thing to check out is the config.rb file. This is a standard sass/compass file that you need, but I do want to call particular attention to the last line, where we mention sourcemap=true.
This little bit of magic gives your Chrome Inspector (or other Dev Tool of choice) the ability to identify which line of the sass partial--not the compiled css--the styles are coming from, so you know right where to go to change them.
Leveling Up
The last piece of our front-end stack is Browsersync, which we'll cover in a future post!
Hide Empty View: Block Display

Have you had this happen to you?
You create a great block display in Views. You configure it just right for your pages and then, it shows up, or part of it does, on pages where there is no content to fill it? As a relative newbie to Drupal Views, this stumped me for a bit. Fortunately there is an easy fix right in Views.
The How To: (you can do either or both parts depending upon what you need to accomplish).
Part 1.
Under FIELDS: click each field and in the "No results text" area, check the "hide if empty" box.
This will allow the field not to show if there is nothing actually there to show. But will not affect how the block itself displays on the page.
AND
Part 2.
Under Contextual filters: you want to Add Global:Null and set "When the filter value is NOT available" and click "display all results for the specified field".
This will hide the block from the page if there are no contents.
Make sure to Apply to your display and then Save the view.
Hide “Page Title” quickly using Display Suite in Drupal 7

This is something that is so simple to do, once you have figured out the steps to get to the right little click boxes to appear. I wish that it were more intuitive to find, but for all those who struggle with “hiding” the page titles, Display Suite makes it really easy to choose to hide the page title for a specific Content Type or for a particular Node.
Follow these steps:
(I’m starting at the beginning for Newbies)
1. Download and install the Display Suite Module. (If you are using Drush the (current) module-name is “ds”).
2. Enable at least the following in Administration Menu>Modules:
a. Display Suite
b. Display Suite Extras (This is the key!!)
c. Display Suite UI
You can enable more of the Display Suite pieces if you need them.
3. At this point you’ll need to go to whatever content type or particular content (i.e. a particular page like “My page about my dog”) you want to have title control over and create a “Custom Display” for that content.
Here’s how:
4. For “Content Types," go Structure>Content Type>Manage Display. There’s a list at the bottom of the page on the left. Look for “Custom Display Settings”. Enable at least one new display. (I recommend “Full content”) and you MUST choose a layout for the display. Use “One Column” if you really don’t want to change your current layout at all. Save your configuration.
5. You can do the same thing for a particular node/page, go to the Content list and select the particular node you want to work your magic on. Then follow step #5.
Once that is done………
6. Go to Structure > Display Suite
7. In the upper right corner look for the “Extras” button. Click the “Extras” button.
8. Look at the list on the left side. You want that 3rd option, “Other." Enable the checkbox for “Page Title Options”. Save the configuration.
9. Now go to Structure > Content Type (Choose your content type) > Manage Display OR Content>(pick your node/Page) > Manage Display. Make certain that in the upper right “Default” is NOT selected. When default is selected you do not get the same option set to put into use.
10. At the bottom of the Display page you’ll see another list. You want to click on the “Custom Page Title”, and then select either “Hide” or “Show”. Save your configuration.
Sit back and enjoy your new control over page titles.
Sanitizing Drupal's default $tabs

I am constantly re-working Drupal's tabs to look a little bit more like a pile of bricks, and I've finally decided to stop reinventing the wheel and to document the CSS that makes them display more sanely. (Namely, if you have a narrow main column and a lot of tabs, they start disappearing into the ether over at the right).
I hope this snippet helps some other folks, too.
This fixes your default Drupal tabs by taking it from this:
to this:
CSS Code:
UPDATE 2/8/2016 (my birthday!)
I still use this - and here it is in SASS. I took the advice to use ul.tabs, too. That way it doesn't also affect primary links.
Easy Image Captions in Drupal 7

For some reason I have a huge mental block when it comes to image captions. I can never quite remember exactly which combination of modules I prefer. Part of this is because I've tried so many different modules that offer this functionality. Also, they all have similar names, such as Image caption, Caption filter, and Image caption formatter.
My go-to for Drupal 6 was Image Caption; unfortunately, right now the D7 version is still in beta. So, I recently tried jCaption and found that it can do everything Image Caption did, plus it's more flexible. The jCaption Module uses jQuery to change an image's title or alt attributes into a caption, conveniently wrapped in a paragraph tag for easy styling. So it can change something like this:
<img src="https://admin.redfinsolutions.com/image.jpg" alt="Image description" title="This is an image caption" class="caption" />
into this:
<img src="https://admin.redfinsolutions.com/image.jpg" alt="Image description" title="This is an image caption" /> <p>This is an image caption</p>
One of the things I like about this module is that you use CSS selectors to target specific images. My clients and I are in the habit of targeting images with the class of caption, so here are the steps to get it working that way on your site.
Configuring the modules
- Install and enable jCaption, Wysiwyg, and your favorite client-side editor. Our typical installation uses TinyMCE, IMCE, and IMCE Wysiwyg bridge. If you're using something else, feel free to describe how to do so by posting a comment.
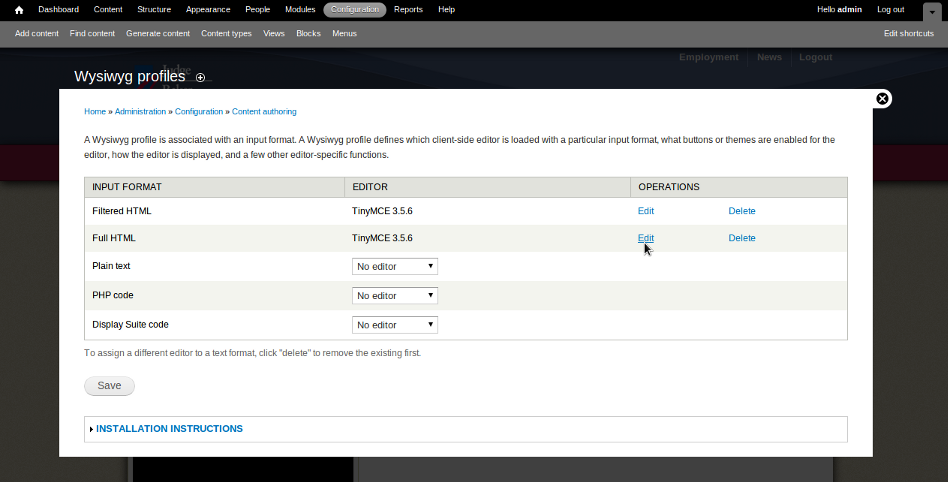
- Next, you'll need to edit the Wysiwyg profile(s) that users will use to insert images at Configuration » Wysiwyg profiles (/admin/config/content/wysiwyg).
- Choose an input format (I typically do this to Filtered and Full HTML), and click Edit
- Click the Buttons and Plugins dropdown and enable the Image, Advanced Image, and IMCE buttons.
- Click the CSS dropdown and enter "Image Caption=caption" (without quotes) under CSS classes. You can replace caption with any valid CSS selector. I got in the habit of using the class of caption with the Image Caption module so that's what I continue to use.
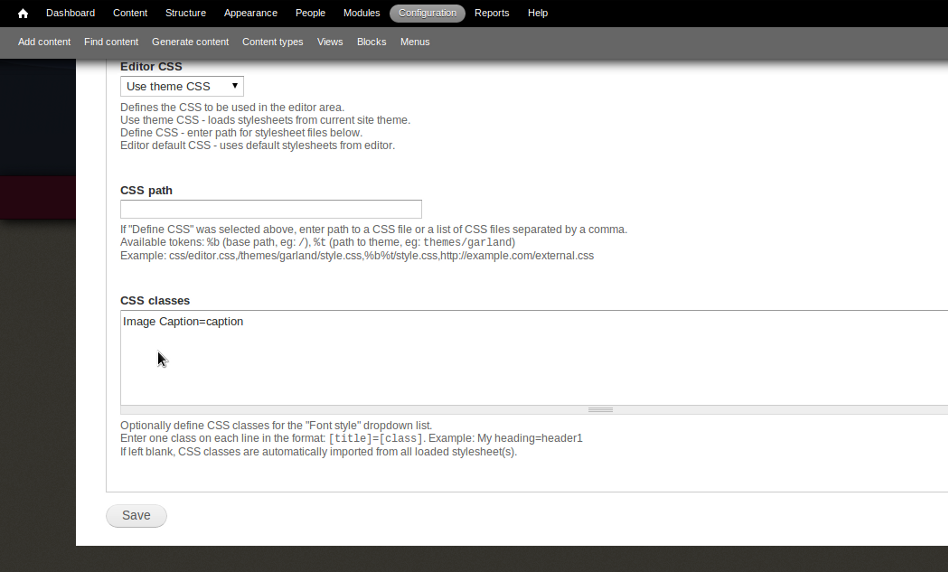
- Click Save.
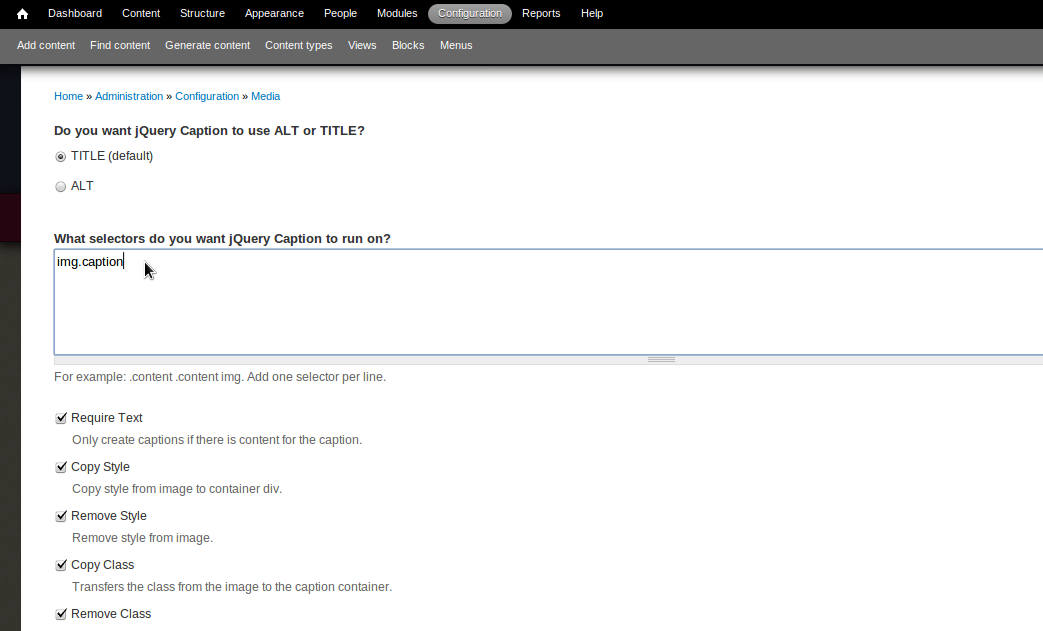
- Configure the jCaption module at Configuration » jQuery Captions (/admin/config/media/jcaption)
- There are many options here, which is great. You can leave everything set to the default for now, except that you need to add "img.caption" (without quotes) where it asks for your selectors. I really like that I can choose more than one selector here. In the past, I've had to use template.php to add the classes to images programmatically, which was a bit of a pain.
- Although there is an option to use the alt attribute for captions, I prefer to use title. The reason is that the alt attribute replaces the image itself for users with visual impairments who may be accessing your website with screen readers. For this reason, I like to use the alt attribute to describe the image and the title attribute, which was originally intended as a tooltip, for the more descriptive caption.
- Click Save Configuration.
Adding captions to images
- Create content containing a field with the input format you configured above.
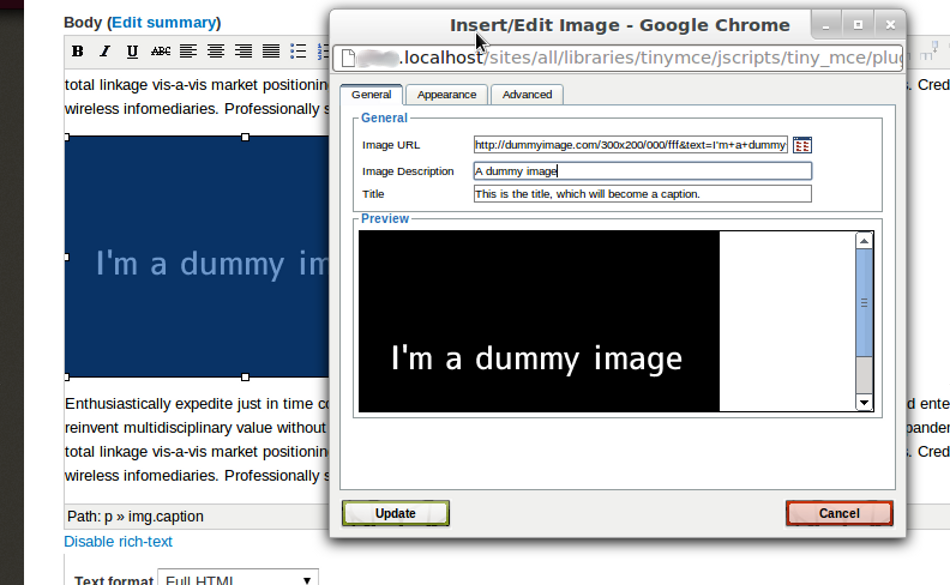
- Insert an image using the Insert / Edit image button in your text editor.
- Here's where the Advanced Image button comes in handy. In addition to the General tab, the Advanced Image button will give you two more tabs: Appearance and Advanced.
- In the first tab, upload or navigate to the image you want to add with IMCE, give it a title (remember that this will become a caption), and it is also a best-practice to give it a description (this will become the alt attribute).
- In the Appearance tab, you can now select "Image Caption" in the class dropdown.
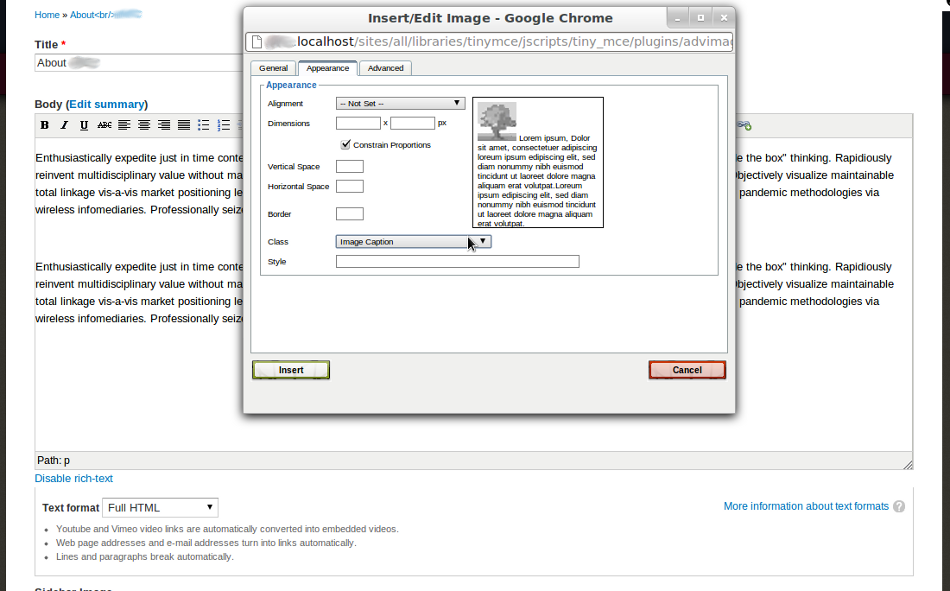
- Click insert and note that your image will appear in the text editor without a caption. Don't panic; you won't actually see an image caption until after you save your content and the module's jcaption.js file loads.
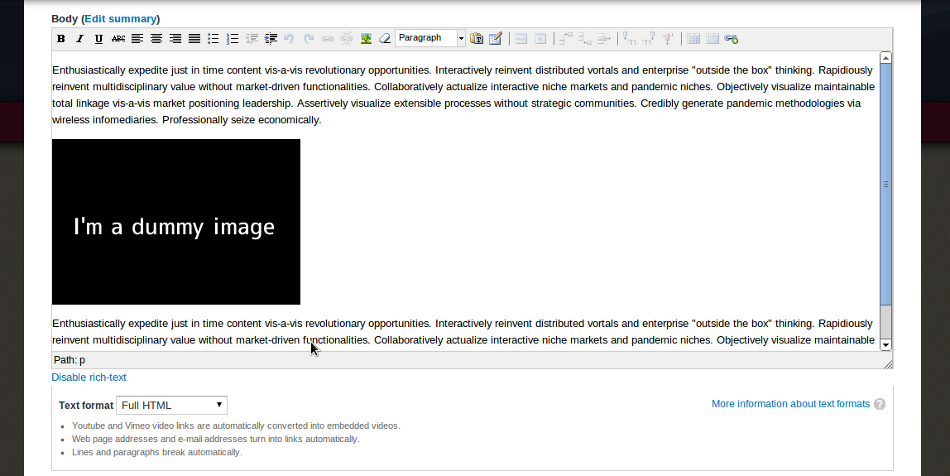
- Save your content, and viola! Your image will have a caption, which you can now style.
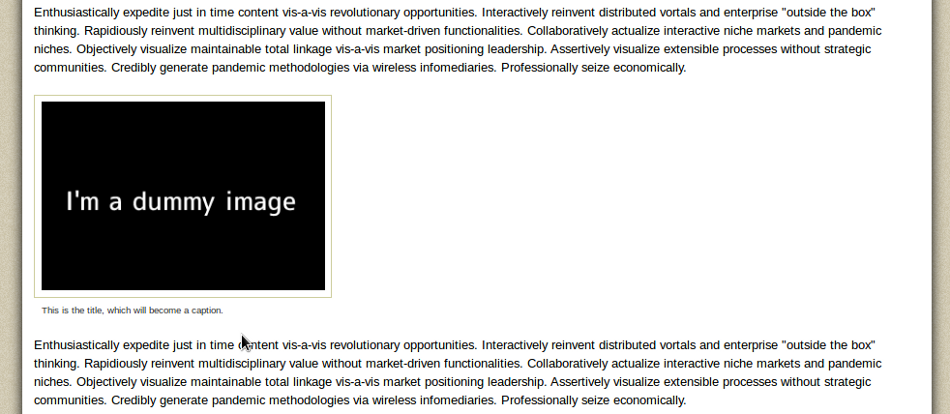
Happy captioning!
Stashing stuff in $_SESSION in your form's _submit handler in Drupal

Today I was trying to figure out why in the name of all that good in the world why I couldn't use $_SESSION in my form's _submit handler.
As it turns out, I actually CAN put stuff into $_SESSION, it's just that when you want to pull something OUT of $_SESSION later, that's not where it is.
Instead, it's on the $user object in Drupal, in $user->session. After some studying, it seems this is a pipe-delimited and semi-colon delimited list of variable names and their serialized values.
Here's a function to pull stuff off of $user->session:
<?php
/**

* private function to return whether or not the person wants auto-play

*

* @return

*   either "yes" or "no" or "" (empty string)

*   yes - if the person has set their session var to autoplay

*   no - if they have set their session var to NOT autoplay

*   (empty string) - if they have not set their session var

*/
function _get_autoplay_from_session() {

  $swftools_user_autoplay = '';

  global $user;


  $the_session = $user->session;

  $the_session = explode('|', $the_session);

  $swftools_user_autoplay = '';

  for ($i = 0; $i < count($the_session); $i+=2) {

    if ($the_session[$i] == 'swftools_user_autoplay') {

      $swftools_user_autoplay = unserialize($the_session[++$i]);

      break;

    }

  }


  return $swftools_user_autoplay;

}
?>
You'll notice that this pulls out a particular variable, but it can be easily modified and/or genericized to have you pass in the variable you're looking for.
Create a Redirect in Drupal's .htaccess For The Base URL

I recently needed to redirect a client's traffic from their old URL to a new one. In this case, they wanted any traffic going to plain example1.com to go to example2.com/blog and all other traffic to go to example2.com/[equivalent URI] (e.g., example1.com/about --> example2.com/about).
To do this, I messed around with rewrite rules and conditions for a while, until I decided on what seems to be a fairly straight forward solution:
# Redirect example1.com to example2.com/blog

RewriteCond %{HTTP_HOST} ^example.com

RewriteRule ^$ http://example2.com/blog [r=301,L]

# Redirect example1.com/example to example2.com/example

RewriteCond %{HTTP_HOST} ^example.com

RewriteRule ^(.*)$ http://example2.com/$1 [r=301,L]
The key here is "RewriteRule ^$", which looks for an empty pattern for the request URI, that is, the portion of the URL AFTER http:// and the host name (e.g., http://example.com). That way, if a person just enters in "http://example.org" it will redirect them to http://example2.org/blog. The second section of the code is there to redirect all other traffic to a similar page on example2.com (taking everything matched after http://example.com and slapping it in after http://example2.org.
Pretty simple and so far it's working well. In my case, I also added a similar bit of code to redirect "www." traffic as well per Drupal's default .htaccess directions.
Replicate MySQL's MD5() Function in SQL Server 2005 Using HASHBYTES()

MySQL and PostgreSQL's MD5() functions are nice, simple, ways to hash your data. Unfortunately, SQL Server 2005 and up (sorry, in order to get it working in SQL Server 2000, you'll need to try a stored procedure), you can use the HASHBYTES() function.
In a recent SQL Server port of the Actions module for Drupal 5, I ran into the following MySQL query:
SELECT aid FROM {actions} WHERE MD5(aid) = '%s'
In order to get this working in SQL Server 2005, we have to first use the HASHBYTES() function instead:
SELECT aid FROM {actions} WHERE HASHBYTES('MD5',aid) = '%s'
This technically does the trick, BUT, the catch is that SQL Server prepends "0x" onto the result hash. I believe this is because it wants to specify the base of the result (in this case, hexadecimal). In my case, I needed to compare this result with a hash that did not have the 0x prefix. To do so, we need to drop the prefix using SUBSTRING(). Since you can't manipulate binary data directly, I used an "undocumented" SQL Server function, sys.fn_sqlvarbasetostr(), to convert the hash to a string.
SELECT aid FROM {actions} WHERE SUBSTRING(sys.fn_sqlvarbasetostr(HASHBYTES('MD5',$1)),3,32) = '%s'
The 32 in the SUBSTRING function refers to the 32 characters in the MD5 hash.
Update Subversion on Mac OS X

If you get the following error
svn: This client is too old to work with working copy '.';

please get a newer Subversion client
... or you just want to update your subversion client (command line), try the following:
- In Terminal, type "svn --version" to find out what version you currently have
- Go to http://www.wandisco.com/subversion/download#osx and download the latest client for OS X and install it. This will install the new svn into /opt/subversion/bin
- Got to your terminal and check your $PATH by typing "echo $PATH". If you don't see /opt/subversion/bin in there, make sure you add it by typing export PATH=/opt/subversion/bin:$PATH. If it DOES exist and appears AFTER /usr/bin, then you may need to remove an older copy of svn that came installed on OS X. To do so, go to /usr/bin and remove all files starting with svn. This isn't an exact science but it should do the trick.
- Make sure you reload your .profile first by typing
. ./.profile* - Type "svn --version". You should see that you have the newest version installed!
NOTE: If /opt/subversion/bin already exists, it will be backed up to /opt/subversion_backup.MMDDYYHHMMSSS. See the readme for more information.
*See http://www.tech-recipes.com/rx/2621/os_x_change_path_environment_variable/ for a great explanation of this.
UPDATE: 7/28/2013
The url http://www.open.collab.net/downloads/community do not contain installer for osx. anybody know where to download it?
That link is still correct, however, you now need to register in order to download the installer AFAIK. Another option is to go here: http://www.wandisco.com/subversion/download#osx, which does NOT require registration.
SVN also, apparently, comes with OS X now: http://www.apple.com/opensource/